How to Make Skeleton Leaves
Skeleton leaves look delicate and lacy, they’re beautiful and are good for loads of craft projects. If you’ve never dealt with skeletonization of leaves before, start with maple and oak leaves, they’re just perfect for beginners.
The process of skeletonization of leaves is simple, but requires patience and accuracy. You will need some leaves (better to collect the autumn ones, when they are more dense), washing soda and food dye.
Other the supplies you may need:
- Water;
- Brush/sponge;
- Food dye;
- Paper towel;
- Gloves.
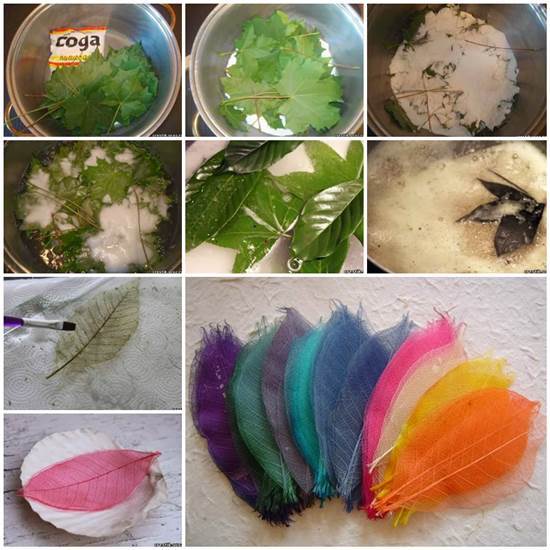
Place the leaves into a pot and cover them with washing soda.
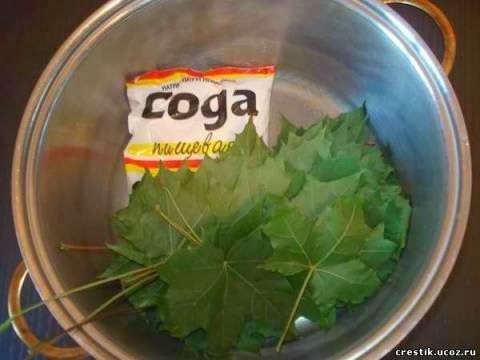
Pour 3/4 cup of washing soda and 4 cups of water in the pot.
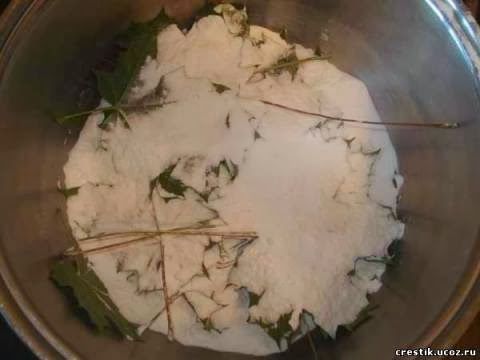
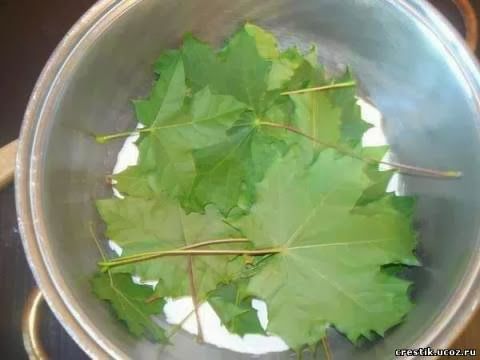
Stir to combine the washing soda and water to make the solution.
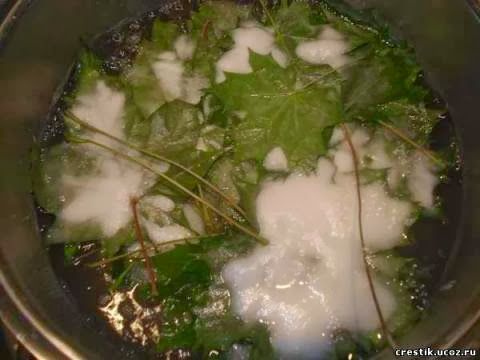
Bring the water to a boil.
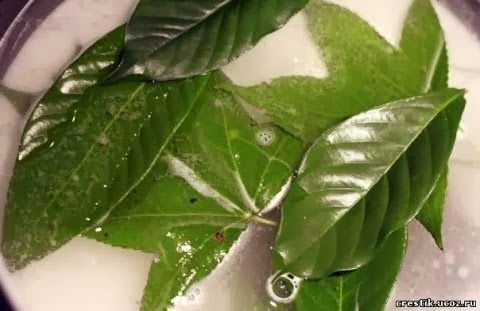
Allow the pot to simmer until the leaves are softened. Depending on the thickness of the leaves, this process may take 1 hour or longer.
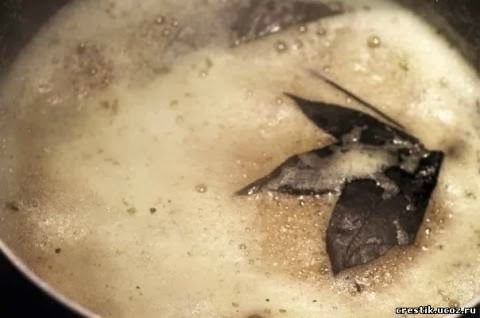
Remove the leaves from the pot, rinse them in clean water and place them on the paper towel. Wear your gloves and use a brush to gently rub away the leaf pulp. Be careful not to tear the actual skeleton.
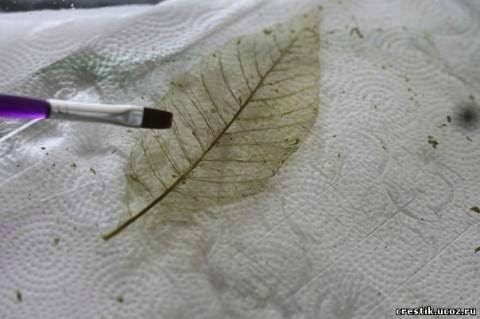
Soak the skeletonized leaves in fresh water, remove and let it dry. Dye the leaves with food coloring and allow it to dry completely.
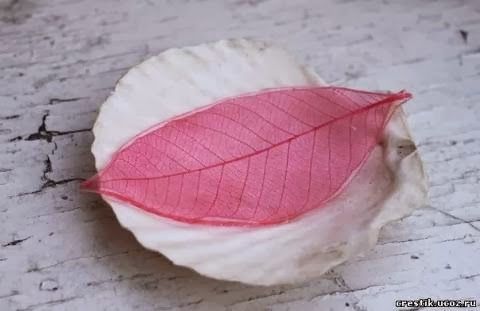
Continue to dye the leaves in various colors. If you want a white skeleton leaf, you can soak the leaf in a solution of 50 ml of bleach and 1 cup of water until it turns white. Then remove it from the solution, rinse with water and let it dry completely.

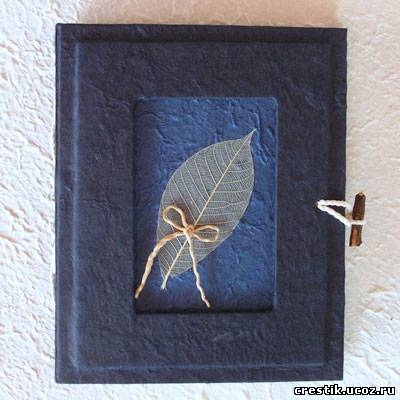
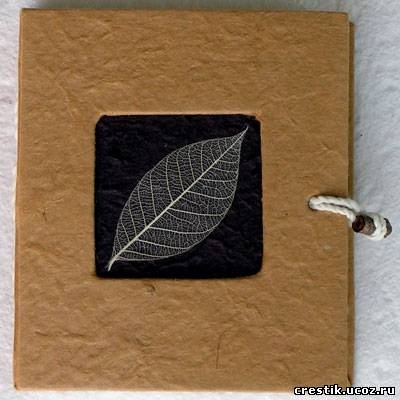
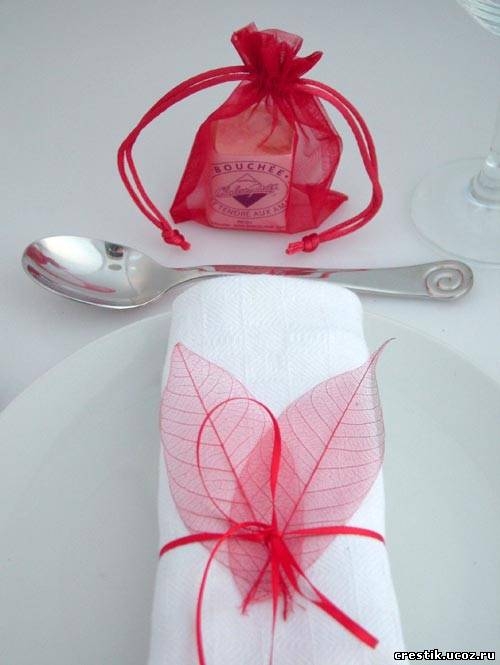
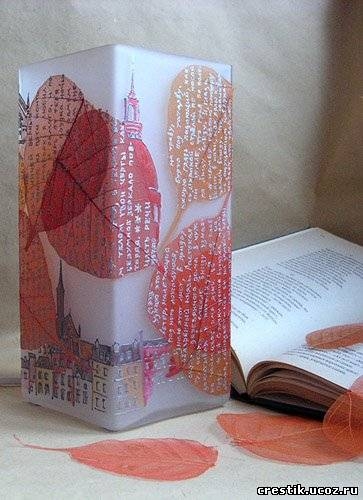
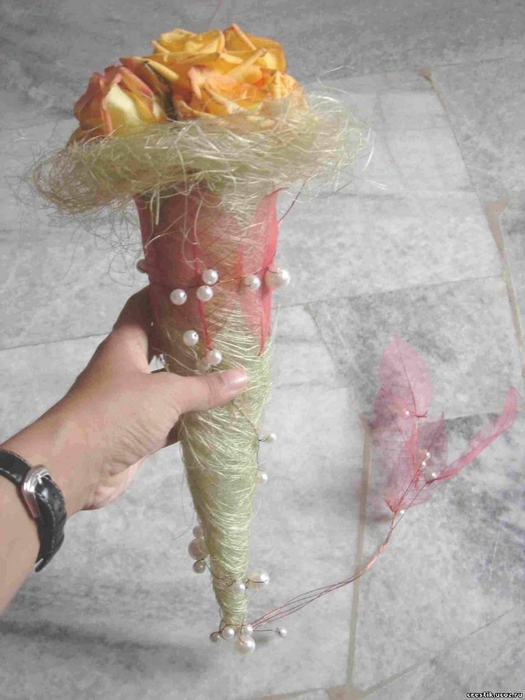
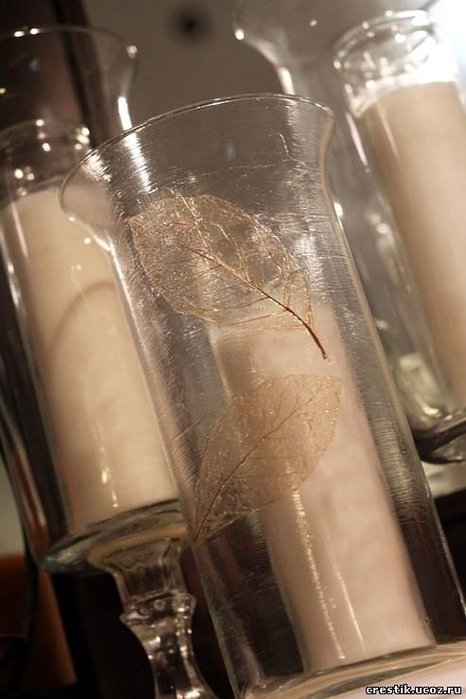
Different leaves require different combination of soda and water. You might have to experiment a few times to get the best result for the leaves that you have. Some people ask if they can use baking soda. It could also work, but again, you need to do your experiment and you know how to do it. And here are some ideas of craft projects where you can use skeletonized leaves.
By clicking "Accept All", you consent to our use of cookies.