MAKE A CUTE LEATHER ORGANIZER WITH YOUR OWN HANDS!
<p>Any organizer is a very useful thing – you can put there whatever you want: notebooks, maps, photos, pens etc. So why not to make a beautiful unusual leather one with your own hands?</p>
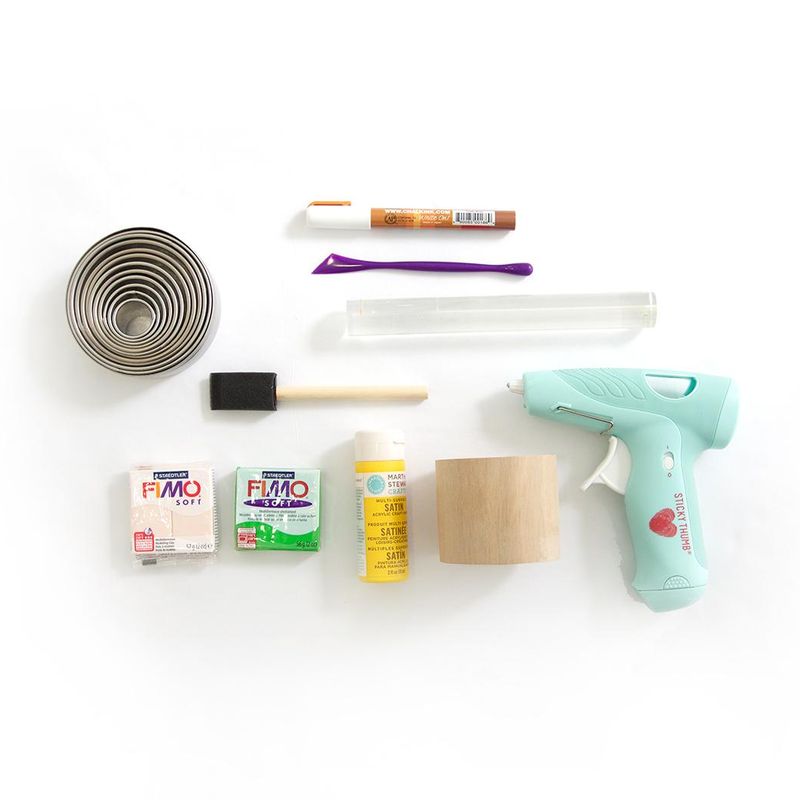
<p>You’ll need to take:</p>
<p>- a piece of thick leather for hand embossing 21 × 27 cm (you can choose whatever size you wish and need)</p>
<p>- a tool for cutting leather corners (you can do without it as well)</p>
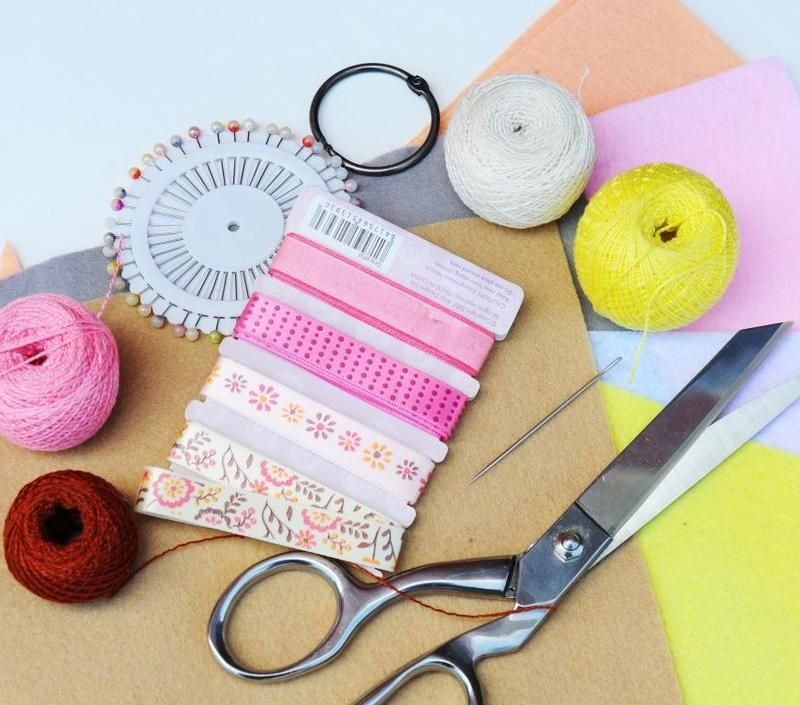
<p>- bright patterned fabric</p>
<p>- double-sided tape with melting glue</p>
<p>- decorative rubber band</p>
<p>- a hole puncher for leather</p>
<p>- an iron</p>
<p>- wooden beads and acrylic paints</p>
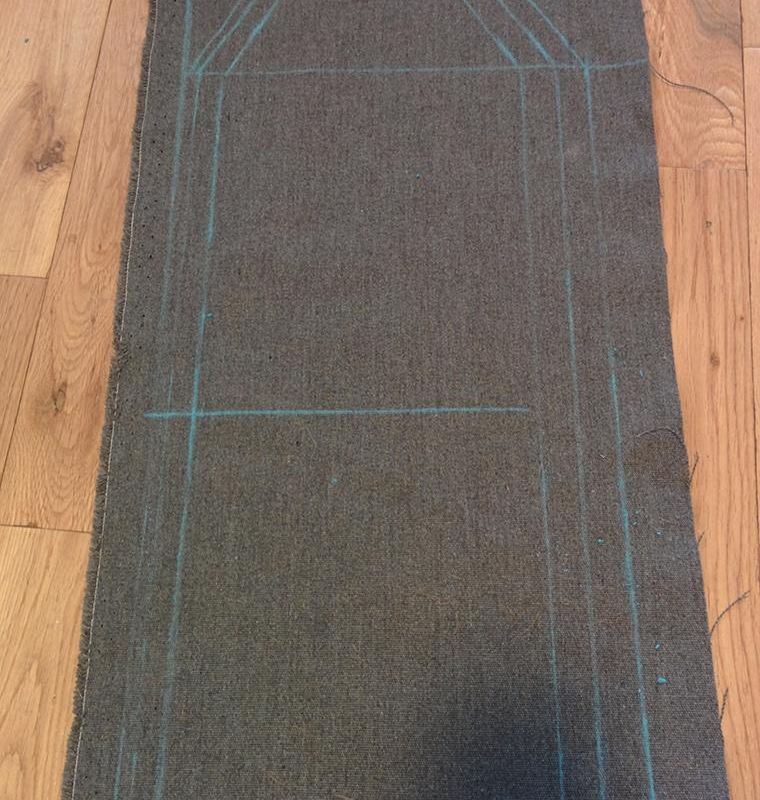
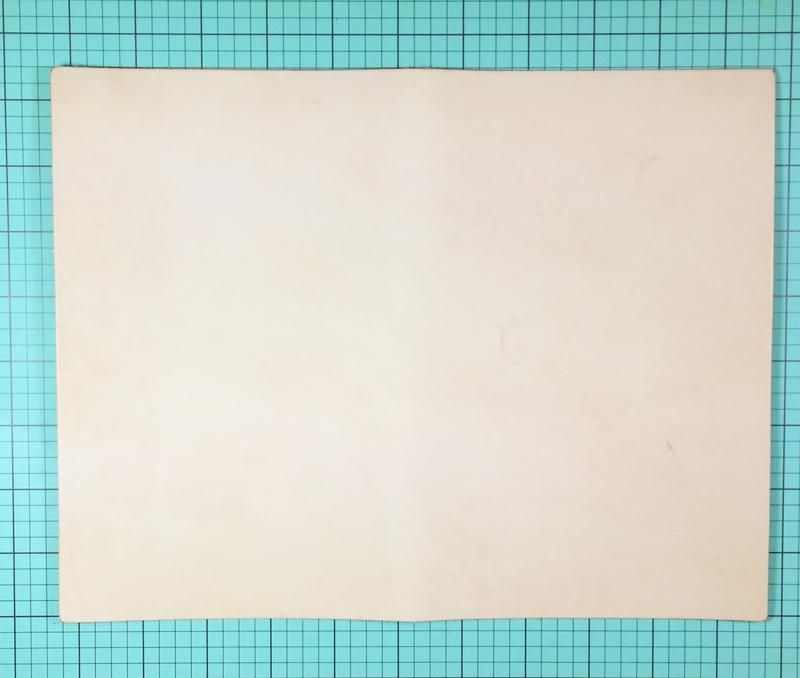
<p>Cut a rectangle of the necessary size out of the leather piece.</p><figure><a class="images-link" data-lightbox="gallery" href="https://abbigli.com/thumbs/rWCP547o6ZWA2oXIhsl1GwKJ9_Y=/c3738f765aea4a04be549f1503294722" rel="nofollow"><img data-image="34414" src="https://abbigli.com/thumbs/unsafe/fit-in/1000x0/https://abbigli.com/thumbs/rWCP547o6ZWA2oXIhsl1GwKJ9_Y=/c3738f765aea4a04be549f1503294722"></a></figure>
<p>If you want to the corners to be rounded off, you can use a special tool to crop them or just a pair of scissors or a scalpel. You can also leave the corners as they are.</p><figure><a class="images-link" data-lightbox="gallery" href="https://abbigli.com/thumbs/DmSDZicp4RgY9_lklb_CRDp0k68=/c718886209a749f2877adec034e7ab63" rel="nofollow"><img data-image="34415" src="https://abbigli.com/thumbs/unsafe/fit-in/1000x0/https://abbigli.com/thumbs/DmSDZicp4RgY9_lklb_CRDp0k68=/c718886209a749f2877adec034e7ab63"></a></figure>
<p>Using an adhesive tape with melting glue and an iron, secure the fabric with bright print on the inner surface of the leather. </p><figure><a class="images-link" data-lightbox="gallery" href="https://abbigli.com/thumbs/j_8qzw0nudmWJxd-nzMvgAyqEnA=/c4ccfad71c6a4504969b864fe0519d67" rel="nofollow"><img data-image="34416" src="https://abbigli.com/thumbs/unsafe/fit-in/1000x0/https://abbigli.com/thumbs/j_8qzw0nudmWJxd-nzMvgAyqEnA=/c4ccfad71c6a4504969b864fe0519d67"></a></figure><figure><a class="images-link" data-lightbox="gallery" href="https://abbigli.com/thumbs/p6jDdfMnUpGrTOPpy1ZttlWf0t4=/b22aaf7a262b4bffbc41ea432670a165" rel="nofollow"><img data-image="34417" src="https://abbigli.com/thumbs/unsafe/fit-in/1000x0/https://abbigli.com/thumbs/p6jDdfMnUpGrTOPpy1ZttlWf0t4=/b22aaf7a262b4bffbc41ea432670a165"></a></figure><p>Then you should find the center of the back part of the organizer and make a hole there, using a nail or an awl. Thread both ends of the rubber bands into the hole to get a loop on the outside.</p><figure><a class="images-link" data-lightbox="gallery" href="https://abbigli.com/thumbs/0emauyvMlaamIJPRcTj6ecHjgOM=/dfcb2ae6165b4f99b1800ffdf1446e92" rel="nofollow"><img data-image="34418" src="https://abbigli.com/thumbs/unsafe/fit-in/1000x0/https://abbigli.com/thumbs/0emauyvMlaamIJPRcTj6ecHjgOM=/dfcb2ae6165b4f99b1800ffdf1446e92"></a></figure><p> Adjust the length of the rubber band and tie a knot inside the organizer, and then cut the excess ends. </p><figure><a class="images-link" data-lightbox="gallery" href="https://abbigli.com/thumbs/MkFlyNFlnF_VMlXe1MN8R-wth9c=/6602b0faceb54eae9a2d9cedcb4de78f" rel="nofollow"><img data-image="34419" src="https://abbigli.com/thumbs/unsafe/fit-in/1000x0/https://abbigli.com/thumbs/MkFlyNFlnF_VMlXe1MN8R-wth9c=/6602b0faceb54eae9a2d9cedcb4de78f"></a></figure>
<p>Make 4 holes along the central axis of the leather cover with the help of a hole puncher. Make each pair of holes near the edge.</p><figure><a class="images-link" data-lightbox="gallery" href="https://abbigli.com/thumbs/bI1E4RG22zEaSb_CmjC9xsHX37w=/1fe2a5e4f9564ab49a65e411c56c22a0" rel="nofollow"><img data-image="34420" src="https://abbigli.com/thumbs/unsafe/fit-in/1000x0/https://abbigli.com/thumbs/bI1E4RG22zEaSb_CmjC9xsHX37w=/1fe2a5e4f9564ab49a65e411c56c22a0"></a></figure><p> Pull one end of the rubber band through the upper hole from the outside.</p><figure><a class="images-link" data-lightbox="gallery" href="https://abbigli.com/thumbs/8NDfxlka0oy66UTiOmZljJYd-5g=/2231bb278e2f4b04a15dd64bf4aa9d94" rel="nofollow"><img data-image="34421" src="https://abbigli.com/thumbs/unsafe/fit-in/1000x0/https://abbigli.com/thumbs/8NDfxlka0oy66UTiOmZljJYd-5g=/2231bb278e2f4b04a15dd64bf4aa9d94"></a></figure><p> Then do the same through the bottom hole. </p><figure><a class="images-link" data-lightbox="gallery" href="https://abbigli.com/thumbs/0VOcADMiFlunxZ46n_BQiSpO6go=/e2c95087e6594033aa84f82701eae85f" rel="nofollow"><img data-image="34422" src="https://abbigli.com/thumbs/unsafe/fit-in/1000x0/https://abbigli.com/thumbs/0VOcADMiFlunxZ46n_BQiSpO6go=/e2c95087e6594033aa84f82701eae85f"></a></figure><p>Pull the free ends of gum through the adjacent ones.</p><figure><a class="images-link" data-lightbox="gallery" href="https://abbigli.com/thumbs/QjFcH88jcgX8rCnF6BfvTwn65zs=/e878b46e96f44f6cbed80f02766a1bc3" rel="nofollow"><img data-image="34423" src="https://abbigli.com/thumbs/unsafe/fit-in/1000x0/https://abbigli.com/thumbs/QjFcH88jcgX8rCnF6BfvTwn65zs=/e878b46e96f44f6cbed80f02766a1bc3"></a></figure>
<p>Pull the ends of the rubber band together - the leather will be a little bent, but it will smoothen when the organizer will be closed.</p><figure><a class="images-link" data-lightbox="gallery" href="https://abbigli.com/thumbs/b58TS4dLwN6QPyJz2YARnyz5T-M=/e207836557534fee9807c7a8433ac5d2" rel="nofollow"><img data-image="34424" src="https://abbigli.com/thumbs/unsafe/fit-in/1000x0/https://abbigli.com/thumbs/b58TS4dLwN6QPyJz2YARnyz5T-M=/e207836557534fee9807c7a8433ac5d2"></a></figure>
<p>Basically, the organizer is ready, but you can decorate it with various cute details – put several colored beads of different sizes onto the free end of the rubber band.</p><figure><a class="images-link" data-lightbox="gallery" href="https://abbigli.com/thumbs/R2HLaXtOdjEs3DmH15Fud9opTik=/d72b7181db00416b99e3bf8097fa8be9" rel="nofollow"><img data-image="34425" src="https://abbigli.com/thumbs/unsafe/fit-in/1000x0/https://abbigli.com/thumbs/R2HLaXtOdjEs3DmH15Fud9opTik=/d72b7181db00416b99e3bf8097fa8be9"></a></figure><p> That’s all! Enjoy!</p><figure><a class="images-link" data-lightbox="gallery" href="https://abbigli.com/thumbs/BxKSTBh_KYR6XkCTTug1EMiDEgQ=/4cf4eee6c0c8486ebc28d9298a26879d" rel="nofollow"><img data-image="34426" src="https://abbigli.com/thumbs/unsafe/fit-in/1000x0/https://abbigli.com/thumbs/BxKSTBh_KYR6XkCTTug1EMiDEgQ=/4cf4eee6c0c8486ebc28d9298a26879d"></a></figure><p>Thanks to <strong><a href="http://stampedinhisimage.blogspot.it/2015/06/diy-midori-style-travelers-notebook.html" rel="nofollow">http://stampedinhisimage.blogs...</a></strong> for the photos and idea!</p>
Категория:Crafts