Handmade Apron – Easy To Make
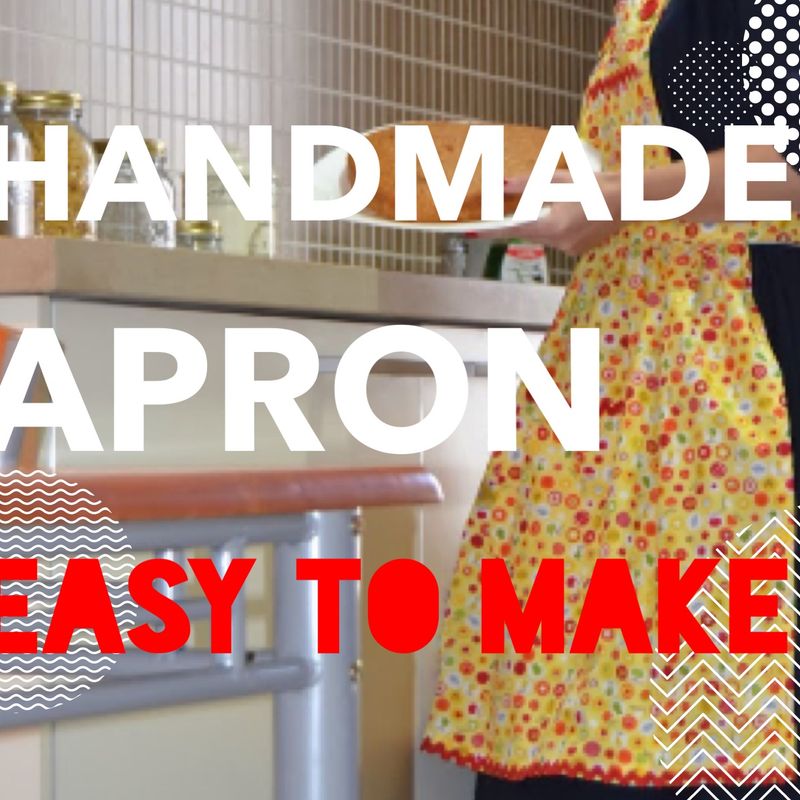
<p>For housework, cooking or garden works you may need aprons. You can not only buy but also very easily make yourself. The apron is an excuse for experimenting in the needle. What about to make a real retro style? Even if you never tried to sew you will definitely enjoy the simpleness of pattern and the whole sewing and will take no more than a couple of hours. Choose your favorite materials, make sure you like the colors and they look great with the interior (or exterior) of the house, turn on your favorite music and let's start!</p><figure><img src="https://abbigli.com/thumbs/rbH6B0HZfn-wNGYd4GgWSmp1_H8=/84d543736d5c4875965902ef008c6abf" data-image="37365"></figure><p>You Have To Prepare: </p><hr><p><i>Fabric (40 in x 60 in);</i></p><p><i>Thread (same color as fabric, recommended);</i></p><p><i>Decoration (lace, buttons, sequins - anything you like);</i></p><p><i>Pair of scissors (very sharp) ; </i></p><p><i>Ruler (the bigger, the better);</i></p><p><i>Sewing machine.</i></p><p>12 Easy Steps To Create a Retro Style Apron:</p><ol><li><font>Carefully divide the prepared piece of fabric into seven parts of the future apron: 1 - skirt, 2 - pocket, 3 - top, 4 - little pocket, 5 - waistband (two pieces needed), 6 - neck belt ( two pieces), 7 - middle belt (two pieces) . All these pieces should be attentively measured and cut evenly. All the details in sizes shown in the picture below. <figure><img src="https://abbigli.com/thumbs/amN0sP4OdL_RvJyIhjNhuat1saI=/01acb3670b23442182c3084e0a9371db" data-image="37367"></figure></font></li><li>Process the piece of the skirt: bend at the edges of 0,4 in, at the bottom - 0,8 in, iron & stitch. Do the same for a top part of the future apron. <figure><img src="https://abbigli.com/thumbs/cJ3obYe3_y4B0Q29o92F40Qqsps=/a948193a471d4c3fb51bec8a78a0489e" data-image="37368"></figure><figure><img src="https://abbigli.com/thumbs/HFUIfxxP-oUpPG7Afx_mon-xeow=/dd9b8d9744bd41f5a15a1b7bde3b9712" data-image="37369"></figure></li><li>Process the pocket (over-measure on the sides of 0,4 in, from above 0,6 in). Iron and stitch the upper side. Place the pocket in the center of the skirt ( it is the most comfortable place for usage, but if you prefer another place, you can choose what you like) and lay two lines on both sides and at the bottom of the pocket, and also in the middle, to get two separate pockets. Again - you can separate as you think you will be needed. <figure><img src="https://abbigli.com/thumbs/fwFeQFXopHJ0WBLB60DwCNzPAfg=/7a9dd2c03d6244d288e1ba655dad0b55" data-image="37370"></figure></li><li>Do the same for a little pocket and place on the top of the apron. In this case, you don't need a middle line, it's already a small and comfortable size. <figure><img src="https://abbigli.com/thumbs/d6yo0gUMMNlR1p6ZHbDvmuI0_x8=/99e6ab56655d4c9d85c1fa3f4950e0c5" data-image="37371"></figure></li><li>Gather in a little a skirt - in the way you like! This trick mostly gives that retro style effect we are looking for. <figure><img src="https://abbigli.com/thumbs/gpRVLSX2cCRDYgLPxq6yIhl-_Oc=/fd1678253f3d4910a181ce8f5cb4fa93" data-image="37372"></figure></li><li>Attach a gathered skirt between the two parts of the belt, aligning the centers. Stitch all three layers, back out 0,6 in from the edge. Start and end the line in 0,4 in from the edge. Iron the seams against the waistband. <figure><img src="https://abbigli.com/thumbs/3AG5XDPwSSEIhM-vw7T8Rc0gTfc=/001c4d198f6f4dc4a885b7559afd7a52" data-image="37373"></figure></li><li>Sew the top with middle belt together, aligning the centers. Seams iron to the down side. <figure><img src="https://abbigli.com/thumbs/a85CWZGK9vNW2c1AQn0sxEKkHbg=/e7ec010f7c864dccabf48b49c1737c19" data-image="37374"></figure></li><li>Internally, press the allowances of the second part of the belt. Stitch both parts from the front side. <figure><img src="https://abbigli.com/thumbs/gvg6DsyKk--2BPvxf0hQnfm2_w4=/c44bf5af7ee04fa6884cad4b8278ced2" data-image="37375"></figure></li><li>Fold the future waistband in half, front side down. Stitch, and from one end - along with the oblique. Cut the corners and allowances. Turn out and iron. <figure><img src="https://abbigli.com/thumbs/rM8RC-P6NWui2uW4depevptsZls=/9de638ec854e4872a716179991be9406" data-image="37376"></figure></li><li>Insert а waistband to the unshielded middle belt. <figure><img src="https://abbigli.com/thumbs/NYI7zvRjL7F7hl6gw6pMdqSJrjA=/801202d2f0a841428354caa9a64d424f" data-image="37377"></figure></li><li>With the neck, belts make the same. After it, sew it to the top part of the apron. For reliability, you can plot additional crosswise lines. <figure><img src="https://abbigli.com/thumbs/lkAZKrAq7GI33TmppeVo7-p-2PY=/6df46af3e23a4f17bb35432b3d353768" data-image="37378"></figure></li><li>Add any decoration you prefer in the way you like. <figure><img src="https://abbigli.com/thumbs/YhCq9govBVYLe1mskrAhdgLtZ0g=/513afaa234864aa0b5a14a1c66832d0b" data-image="37379"></figure>Now you know how to make an apron yourself and the final look depends only on your fantasy and courage! With such an accessory, you will surely feel a rush of culinary inspiration and creation of new ideas for home and garden. Share your experience with friends and family and do it together! </li></ol><font></font>
Категория:Home