DIY Jewelry Box
<p>Hello!</p>
<p> I am excited to show you this cool tutorial on how to make a cute wooden jewelry box. Grab all you need and let’s get started.</p><figure><img src="https://abbigli.com/thumbs/KvhfWadwdd16U6zGkMqCceRInjA=/cd38c1e70f184b81ae3a538f5a7d0f98"></figure>
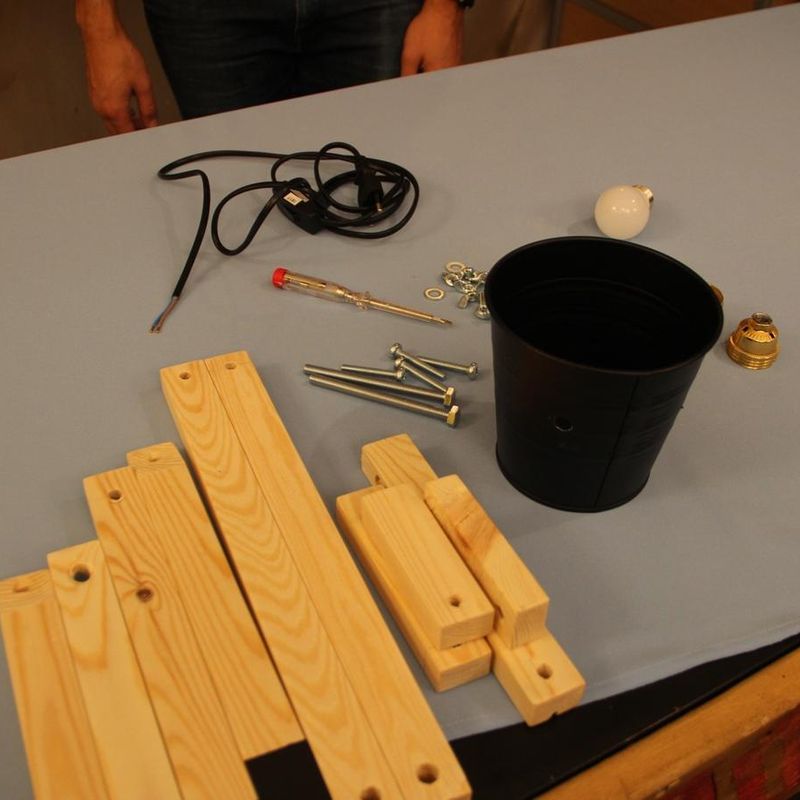
<p> Supplies:<br>-wood box (mine is from Michaels, about 5.5″ square)<br>-screwdriver<br>–wood filler<br>–paint<br>-foam brush<br>–batting<br>-velvet<br>-glue gun<br>–natural tooling leather<br>–leather awl<br>-thumb tack<br>-hammer</p><figure><img src="https://abbigli.com/thumbs/fMq-LoHRy-RbQXoxBrC7btx-t7k=/6875d148be5f4f13bcad9a049875681a"></figure>
<p> Using a screwdriver remove any hardware on the box with and fill in the remaining holes with wood filler. Once the filler is dry, paint the box with at least three coats of paint with drying in between.</p><figure><img src="https://abbigli.com/thumbs/vu5WLHUTlwsnvvh6192LRhZm2rU=/8c8ee33366ed4d7993c4422dda7adcbe"></figure>
<p> Cut a strip of batting the same width as the inside of the box and roll it up. The batting length I used was about 6.5″. Use a glue gun to glue down the end of the strip. I used two layers of batting and the rolls ended up being too thick, so I’d say sticking to one layer is sufficient.</p><figure><img src="https://abbigli.com/thumbs/L2VvaOhJQcWHFv8PC3Xt67bZTPU=/82e32835bf324ce38bb7b848e0eb5967"></figure>
<p> Cut up the velvet to wrap around each roll of batting and use the glue gun to glue it on. The velvet doesn’t have to reach all the way around since the exposed batting will just be on the bottom side of the box. Make sure to leave excess velvet on each end of the batting to tuck under once squeezed into the box.</p><figure><img src="https://abbigli.com/thumbs/akFDMhC2phT2Q9fRZuTGh_4fxao=/0933d789ab624049aa258e8a4405f41c"></figure>
<p> I shoved in the rolls of the velvet covered batting into the box while tucking in the ends underneath each roll. I also used a popsicle stick to further tuck in the velvet on the sides. The rolls should be so tightly packed that gluing them in isn’t necessary.</p><figure><img src="https://abbigli.com/thumbs/_CiuXt61BQhnCu1YV5Sw-CalPjc=/5ffe1440272b4134b15e3e04dbe04c54"></figure>
<p> For the handle, cut a strip of leather about 1 inch wide and 2.75″ long. Fold it in half and use a leather awl to pierce a hole near the edge for the thumb tack to go through.</p><figure><img src="https://abbigli.com/thumbs/2V28oo1NvpVivktrxD-9j4OOEgk=/e1fca154a00c49df84f5cc082c19be52"></figure>
<p> To secure the handle in place hammer in the thumbtack onto the front side of the lid of the box.</p><figure><img src="https://abbigli.com/thumbs/O4rKBVZY2CNXLdBvo_mkbpx7mKc=/c713874a8db241ea9e2a736c46c77bb4"></figure>
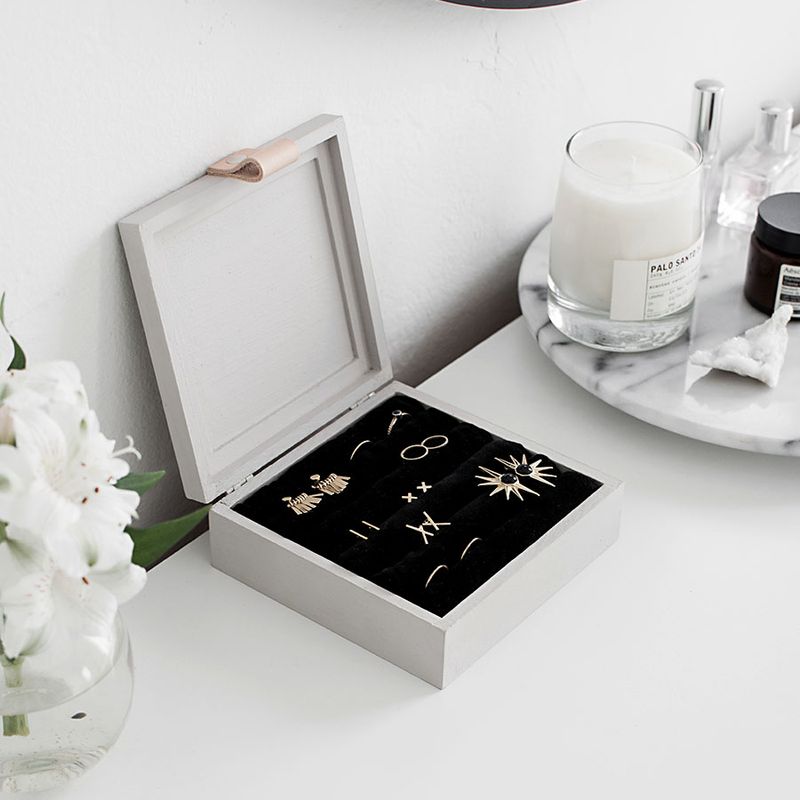
<p> Voila! It looks amazing and fit in my bedroom so perfectly. I now have the greatest jewelry organizer so far and I love it. I hope you enjoyed this tutorial as well.</p><figure><img src="https://abbigli.com/thumbs/xJyFyoyzfR-nEgT_h2V30Xd1X9Q=/27b1f9e050ba4f308ad0067996db0f94"></figure>
<figure><img src="https://abbigli.com/thumbs/gyVzt1UPK7AQLTdmJ2E4uSaPhI4=/6c625ee1c55b4334ac48842f2d69d151"></figure><figure><img src="https://abbigli.com/thumbs/p3BAqxIwxqm5rB-S0kPX-K36Yl8=/6208e81eec8748eb9d73649f7e18787b"></figure><figure><img src="https://abbigli.com/thumbs/LEx1oN7bTJQejoJ4XIbx-foNCE0=/cf4683cb70e14aa7b69fe56345fb9396"></figure><p> Source: <a href="http://www.homeyohmy.com">homeyohmy.com</a></p>
Категория:Home